


Your First Trip Hiking the Rocky Mountains

Rocky Mountain National Park is home to beautiful wildlife and breathtaking vistas, and hiking is one of the most rewarding ways to explore this stunning range. But these mountains — with their high elevations, intense sun and rapid temperature fluctuations — can be potentially dangerous to the uninitiated. Check out our informative guide below to make your high-altitude hiking excursion a safe and enjoyable one.
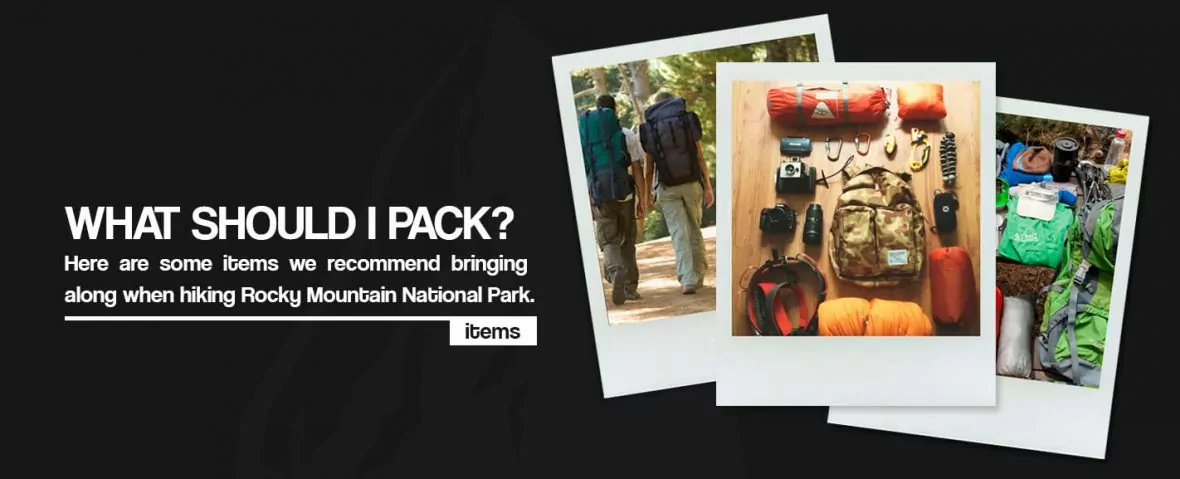
What Should I Pack?
Here are some items we recommend bringing along when hiking Rocky Mountain National Park.
- Durable hiking boots: Bringing along a pair of breathable, waterproof and supportive boots will enable you to easily hike wet and dry trails and probably explore farther than you would have without them.
- Binoculars: One reason we go hiking is to witness wildlife, and a good pair of binoculars lets us observe so much more. You can see elk and moose grazing in a distant meadow or rock climbers scaling a dramatic cliff. Not all binoculars on the market are of good quality, however, so when shopping for a pair, make sure to speak with an employee about the different types on sale. The ideal pair should be strong, but not too heavy.
- Daypack: If you’re planning a strenuous hike, make your trek more comfortable with a daypack. Use it to carry all your essentials, including food, a flashlight, binoculars and a first-aid kit.
- Snacks: Rocky Mountain hiking trails are, by and large, located in remote areas where restaurants and grocery stores are hard to come by. Make sure to stock up on plenty of food before arriving at the park.
- Water bottles or hydration system: By drinking water almost constantly, not only will you ward off the effects of elevation sickness, but you will also help prevent dehydration, which is particularly common in the Rockies. The air is so dry, your sweat will evaporate quickly — so quickly that you may not even notice you’re sweating. When hiking, it’s smart to consume half a liter to one full liter per hour. If your urine is clear, it means you are hydrated.
- Bring warm and cold clothes: The Rockies are a region of elevation extremes, and with changes in elevation come changes in temperature, so you may feel overheated at one point in the day and freezing the next. The dry air also causes to greater temperature fluctuations throughout the day, with some parks in July going from the 80s during the day to 45 degrees Fahrenheit at night. Bring along light layers for the day and warmer outfits for after the sun sets.
- Get a star chart or star app: Due to their often remote locations, the Rocky Mountains enjoy dark skies. Having a star chart on hand will allow you to identify stars or formations. You can also download apps that will identify stars when you point your phone at them. While only 500 or so stars are visible from cities, you may be able to see up to 15,000 in some places in the Rockies.
- Water shoes for rafting or boating: River rafting and canoeing are popular activities in the Rockies, and these activities are best to enjoy with a good pair of water shoes. Avoid wearing flip-flops for these aquatic activities, as they can get stuck in the mud or get swallowed by the river current. A good idea is to buy a pair of rubber-toed shoes, which will protect your toes from getting bruised or cut in the river.
- A tablecloth: This item may not seem necessary, but if you stop to eat at an old, weathered picnic table, putting down one of these can make for a more pleasant eating experience. It may also prevent you from getting splinters.
- Bug spray: Swatting bugs can be an irritating and time-consuming activity that sometimes keeps you from fully enjoying the outdoor experience. If you are uneasy about formulas with strong chemicals, keep in mind many bug sprays are available that use natural ingredients.
- Headlamp: When you retire to your tent at night, you may want to do some reading. Instead of using your phone’s flashlight and consuming your battery, invest in one of these handy lighting devices.
- Sun protection: The Rocky Mountains enjoy many sunny days a year, which means you’re more likely to get burned — especially at higher elevations where the sun is stronger. Cover up your face with a wide-brimmed hat and apply sunscreen over all your exposed skin. Sunglasses are also a smart choice, as they protect your eyes from getting burned. If you’re planning any water activities, buy some sunglass straps as well.
- Plastic bags: Plastic bags are impermeable and great for keeping your stuff dry when it rains — especially toilet paper, which you’ll likely need during a long, remote hike.
Planning Your Itinerary
When choosing the trails you want to take, it’s essential to research their difficulty. Otherwise, you might end up on a neverending, strenuous trail that’s too difficult for your fitness level — or a short, flat trail that fails to challenge or excite you. Don’t look at only the length of the trail — a short trail could still feature dramatic changes in elevation and be too challenging.
One general rating system categorizes the difficulty of hiking trails taking distance, altitude and terrain into account. Here are the three categories.
- Easy: relatively flat and well-maintained
- Moderate: steady elevation gain with a few obstacles
- Strenuous: longer, has steeper elevation gains and contains many obstacles
There is also the Yosemite Decimal System that classifies five difficulty levels for trails. Most hikes fall under either Class 1 or Class 2. Class 3 involves trails with climbing and scrambling, where you must use your hands for balance. Here are the five categories.
- Class 1: A trail with gradual ascent and few obstacles
- Class 2: A more difficult trail where you may have to occasionally use your hands for balance
- Class 3: A trail that involves scrambling or climbing without a rope
- Class 4: A trail that involves climbing with a rope
- Class 5: A trail that requires technical climbing
Keep in mind, Class 2 is a fairly broad category used to rate hikes of many different difficulty levels, so it’s best to thoroughly research the nature of these trails to see if it’s something you can handle, especially if you are planning a Rocky Mountain hike as a beginner.
Create a Hiking Trip Plan
When deciding on a trail for your Colorado hiking trip, it’s a good idea to develop a plan to leave behind. It will increase the likelihood of rescuers finding you if you don’t make it back as expected.
The more information you can leave behind, the more your loved ones will be prepared if they need to call an emergency response team. A thorough plan of your trip will also help the search team locate you more quickly. Here are some examples of information you leave behind:
- Names and ages of everyone in your hiking party
- Gear you’re carrying
- Clothing you’re wearing on your hike
- Hike start date and time
- Approximate hike return date and time
- Name of the hiking location
- Names of the trailheads and connectors you’re taking
- Turnaround point
- Picture of the bottom of your hiking boot
- GPS coordinates
- Amounts of food and water you’re bringing
- Anything else that may make your situation unique, such as medications you take or diseases you have
- Animals you’re traveling with

Planning for Weather
Bringing the following things will help prepare you for whatever Mother Nature decides to throw at you.
- A rain jacket: While the Rocky Mountain summers are famously dry and sunny, afternoon rainstorms are common and can interrupt an otherwise perfect day. Although these storms pass quickly, they also come with a dramatic drop in temperature, so you’ll want to have a jacket that will keep you both dry and warm. If a thunderstorm hits, make sure to take cover.
- The right fabric: Make sure you’re packing clothes made from material that will keep you warm when dry or wet, dries quickly and is light and packable. Some of the best fabrics for warmth are fleece, merino wool and nylon.
- Gear that can withstand the elements: This tip is especially important for the fall, a season when you should definitely pack three-season gear. It should be able to continue to function in the elements, or you have some way to protect it from strong winds, rain or snow. Make sure the gear you have still works at freezing temperatures. Packing additional plastic bags is a great way to keep things extra dry.
- A good assortment of layering: Knowing how to layer is essential to staying comfortable in the Rockies.
- A Plan B: Create backup plans for all the things you can foresee going wrong. If you tent pole breaks, a rainstorm soaks your campfire or your sleeping bag blows into the river while it’s drying out, you’ll need to think of a solution.
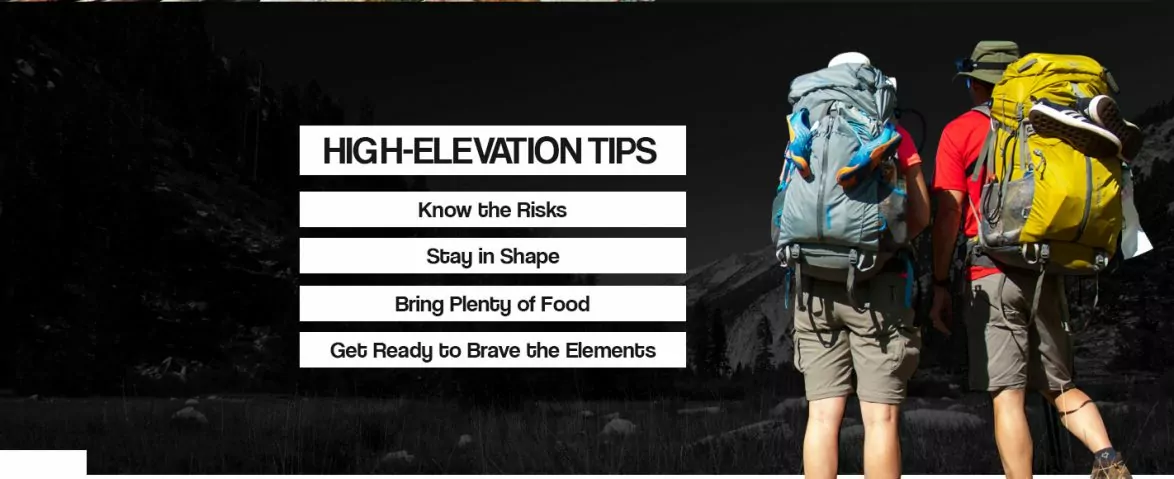
High-Elevation Tips
High-altitude hiking in the Colorado Rockies gives you unforgettable views of stunning landscapes and is a highly rewarding outdoor activity. However, with high-altitude hiking, there are risks of several altitude-related illnesses.
Unfortunately, there is no way to train for high altitude if you are not at a high altitude. The most important thing is to acclimate and hydrate once you’re there. Here are some additional tips.
1. Know the Risks
It’s vital to understand what illnesses high elevation can bring on and the differences between each one. The most common are acute mountain sickness (AMS), high-altitude pulmonary edema (HAPE) and high-altitude cerebral edema (HACE). Do some research to learn what a person affected with each of these illnesses looks like and how to take action if someone in your hiking party experiences these symptoms. Here are some common signs of each illness.
- AMS: This is the mildest form of altitude sickness and feels similar to a hangover. Common symptoms include a headache, nausea and exhaustion. If you have any of these symptoms, this could mean a more significant risk of HAPE or HACE.
- HAPE: Pulmonary edema is the result of liquid seeping into the lungs. Sufferers may also cough up a foam, which means they need to get to a lower altitude as soon as possible.
- HACE: If your speech becomes slurred and you start stumbling, you are probably suffering from HACE. This means you are close to death and must descend to a lower altitude immediately.
2. Stay in Shape
One way to better deal with high-altitude exertion is train harder at normal elevations. Here are some ways to stay fit at normal elevations.
- Train with a weighted pack: When training at your normal elevation, stuff your backpack with heavy objects such as water and weights.
- Run up stairs and hills. Doing sprints up steep hills or staircases exercise the muscles your use when hiking. If you live near hills, run up the hills. If you live in a flat area, hop on the Stairmaster. Wherever you live, there are opportunities to prepare physically.
- Train at an intermediate elevation. If you live near a mountain range, you can go there to gradually acclimatize your body by training 1,000 feet higher each weekend.
3. Bring Plenty of Food
At high altitudes, you need to eat and drink more than usual. Your muscles burn energy more rapidly, and your body requires more water and calories to function. Leave your diet at home — at higher elevations, it’s a good idea to eat high-calorie treats like jerky and chocolate.
4. Get Ready to Brave the Elements
At higher altitudes, the sunshine is intense and the wind is strong. Make sure to wear plenty of sunscreen if you venture to higher elevations. You should also have gear that offers total face protection from the sun, clothing that is wind-resistant and waterproof and extra hand warmers and thermal gloves.
5. Bring First Aid
You never know how your body is going to react to high altitudes until you go. If it’s your first time, you may want to bring along medicine for altitude sickness. Diamox is a common prescription medication for travels above 8,000 feet, and ibuprofen, cough drops and indigestion pills are also good to have on hand.
6. Know What You Can and Cannot Do
Before setting off on your high-altitude trek, talk to your doctor, especially if you are planning a Rocky Mountain hike for beginners. Make sure you don’t have any undiscovered ailments that make a high-altitude excursion uncomfortable or dangerous. Also, if you’re on the trail and you’re not feeling good, be prepared to stop and go back. Even if it’s just a minor headache or chest pain, these symptoms may suggest something much more serious.

7. Pace Yourself
Don’t rush yourself at high altitudes. Your body will naturally want to move slower up high, so don’t fight it. Just take your time and don’t overexert yourself.
Book a World-Class Hiking Tour
If you’d love to experience the top hikes in the Rocky Mountains without stressing out over the itinerary, consider booking an all-inclusive hiking tour with Wildland Trekking. Our professional, award-winning Colorado hiking guides adhere to high safety standards and create an unforgettable experience for our guests. Contact us here!
As the world’s premier hiking and trekking tour operator to Rocky Mountain destinations up and down the USA and Canada, Wildland believes in connecting people to fantastic environments in amazing ways. Check out our Yellowstone trips, Greater Yellowstone Ecosystem trips, and Rocky Mountain National Park Trips or connect with one of our Adventure Consultants: 800-715-HIKE

